
We’ve now reached the final article in this three part series covering Configuration Management in Azure automation. In Part 1, I discussed the Inventory tool and how to onboard an AWS EC2 virtual machine to Azure. Part 2 covered Change tracking and how to monitor changes to various resources on the AWS instance. In this article, Part 3, I will cover Azure State configuration (DSC) and how to register an AWS VM as a DSC node to apply a desired state.
An Overview of State configurtion (DSC) Components
Azure State configuration builds upon Powershell’s Desired State Configuration (DSC), which was introduced in version 4.0 of Powershell. These are the main components of Azure DSC, along with a brief description of each:
- Configuration files – Powershell scripts written in a declarative syntax that defines how a target should be configured. These contain building blocks that define the nodes to be configured and the resources to be applied.
- Resources – These are Powershell modules that contains the code that determines the state of a machine.
- Local Configuration Manager (LCM) – This runs on the target nodes. It serves as the engine that consumes and applies DSC configurations to the target machine. It also has settings that determine how often a node checks for new configs from the Pull server in Azure automation and what action to take when a node drifts from a desired state.
- DSC Metaconfigurations – These files define the settings for the Local Configuration Manager (LCM).
- Pull Server – located in Azure automation. It functions as a repository for the configuration files that are applied to DSC target nodes.
Why Azure State configuration (DSC)
By leveraging DSC as a service in Azure, this eliminates the need to deploy and maintain an On-Premises Pull server, and all of it’s necessary components such as SSL certificates. Also, State configuration (DSC) data can be forwarded to Azure Monitor, which provides searching capabilities with Log Analytics and alerting on compliance failures. Furthermore, if you’re doing the DevOps thing by implementing agile practices, State configuration fits in seamlessly with continuous deployments in Azure DevOps.
Prerequisites
To complete the tasks in this example, the following will be needed:
1. An Azure automation account
2. An AWS EC2 VM
3. WMF 5.1 – on the AWS VM
4. WinRM – on the AWS VM
Steps to Onboard the AWS EC2 VM to Azure
Even though DSC is a part of Azure’s Configuration Management, any machine that it manages has to be onboarded separately from Inventory and Change Tracking. There are a few ways to onboard an AWS instance to State configuration (DSC):
- The AWS DSC Toolkit created by the Powershell Team – this method includes installing the toolkit using PSGet, then running commands to login to your Azure subscription and register the AWS EC2 instance. Go here to get more details.
- A Powershell DSC script – involves running a Powershell DSC configuration script locally on the AWS EC2 instance. The script will generate a Metaconfig file that contains settings for the Local Configuration Manager (LCM). This Microsoft doc explains more.
- Azure Automation Cmdlets – a quick method to produce the DSC Metaconfig file using AzureRm cmdlets in Windows Powershell on the AWS VM.
Options 1 and 3 will allow you to register the node in Azure without having to write a Powershell DSC configuration script to generate the Metaconfiguration. This is fine as long as you’re comfortable with the default LCM settings. In this case, I will use Option 3 since it’s simple and this is only for demonstration purposes. Here are the steps to be executed on the AWS VM:
- In a Powershell console, install the AzureRm module from the Powershell Gallery using install-module AzureRM
- Login to Azure using login-azurermaccount
- Download the Powershell DSC Metaconrigurations from Azure automation with the following Powershell command :
$Params = @{ ResourceGroupName = 'myautogroup'; AutomationAccountName = 'myautoacct1'; ComputerName = @('IP address or computer name'); #this will be the Private IP not Public OutputFolder = "$env:UserProfile\Desktop\"; } Get-AzureRmAutomationDscOnboardingMetaconfig @Params - Run Set-DscLocalConfigurationManager -path “$env:UserProfile\Desktop\”
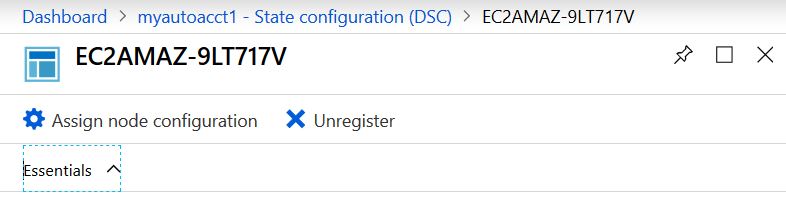
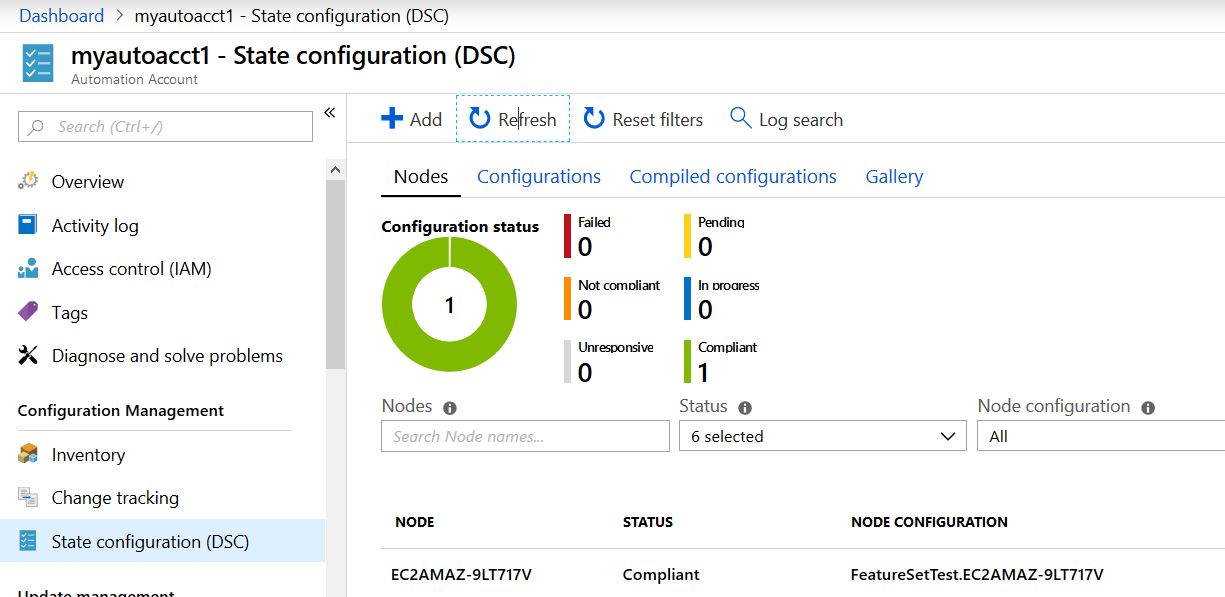
To verify that the AWS VM has been successfully onboarded, in the Azure portal, go to the Automation account. Under Configuration Management, click on State configuration (DSC) to go to the main where it shows the EC2 instance and it’s configuration status.
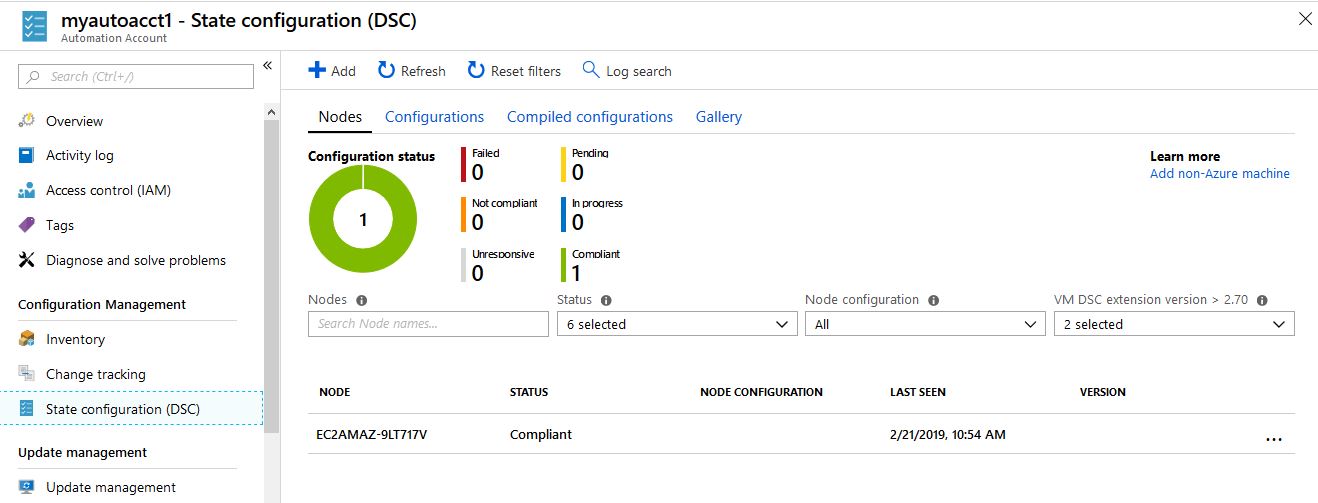
The next step is to assign a configuration to the node.
Add and Assign State Configurations
Now that the AWS VM is registered as a DSC node in Azure, configuration files can be assigned to it. This can be done by composing your own configuration files and uploading them to Azure; or using the ones available in the Gallery.
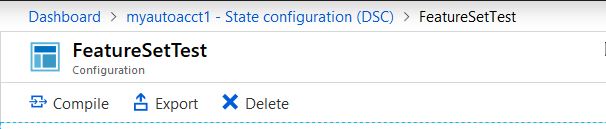
If you select “Configurations“, there’s an option to upload a configuration file or compose one in the Portal. I will click “Add” and upload a previously created config file called “WindowsFeatureSet.ps1 that will ensure the IIS and Web server features are enabled.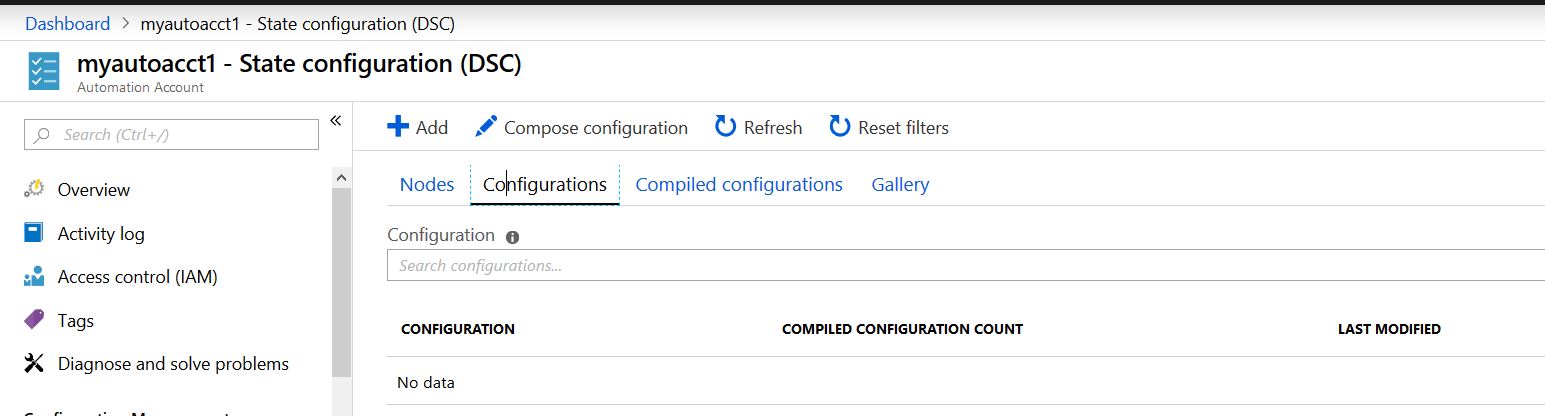
Next browse to the location of configuration script file and hit “Ok” to import it.
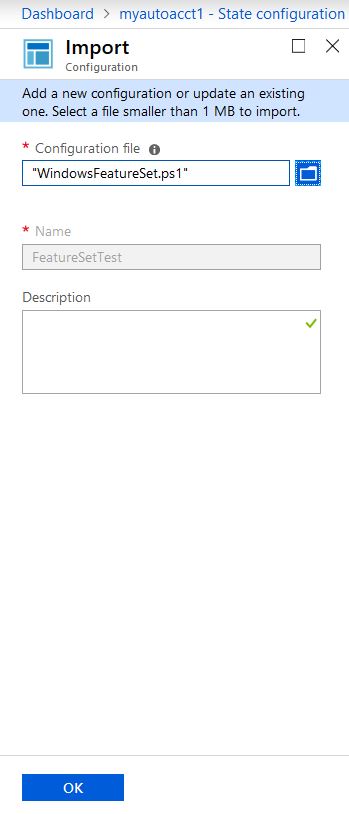
I’m not going to walk through the steps of writing a DSC script, but only provide an overview of assigning it to a node. Once the import is complete, the config file is now available under “Configurations“.
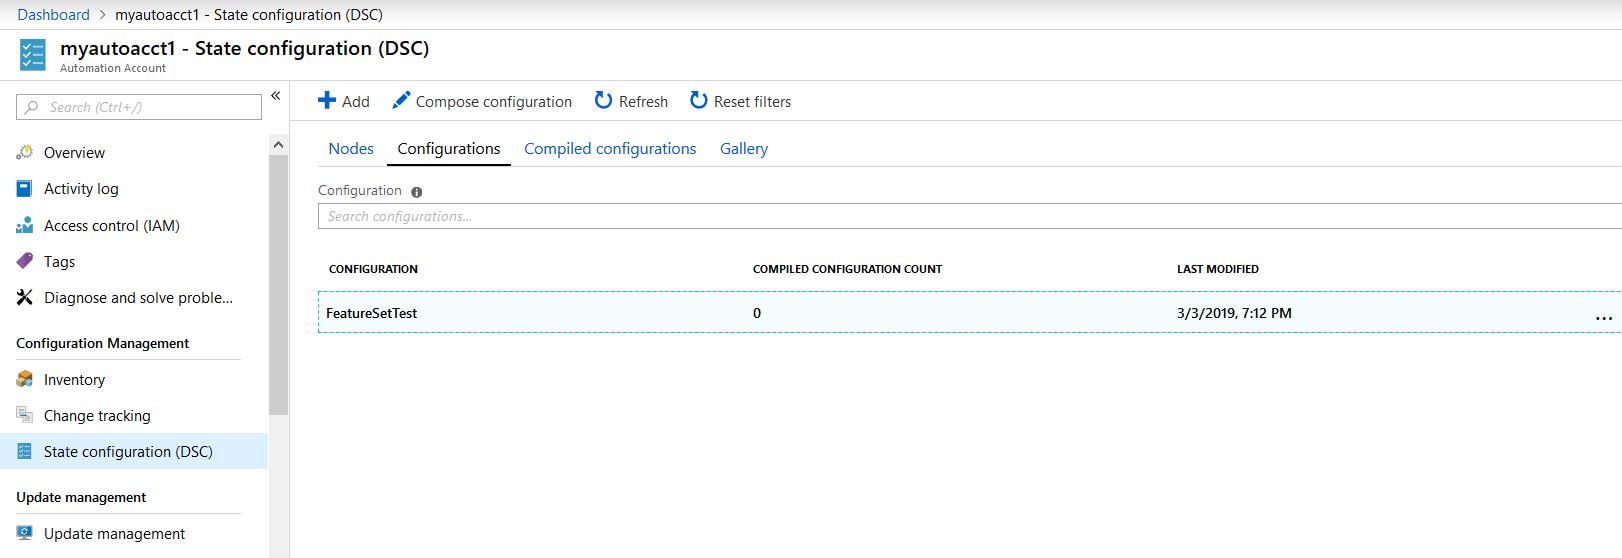
Before it’s assigned to a node, the uploaded file will then need to be compiled into a MOF document by the LCM on the Pull server. To begin this process, select the imported config file and click on the “Compile” button.
Once complete, the file will show as compiled and will be in the format of filename.nodename. At this point, the configuration can be assigned to the node.
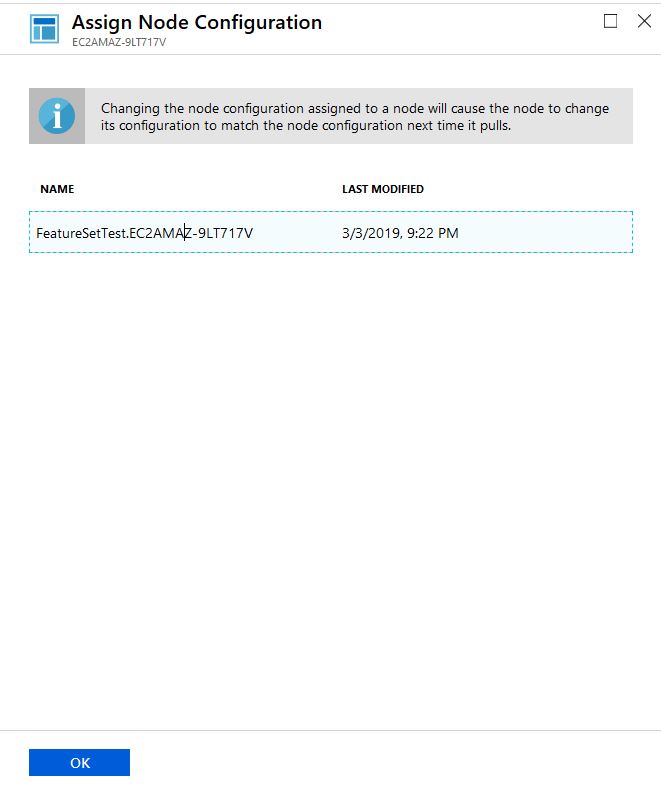
To assign the configuration, select the DSC node from the Nodes screen and click on the “Assign node configuration” button.
Confirm the assignment by clicking “Ok”
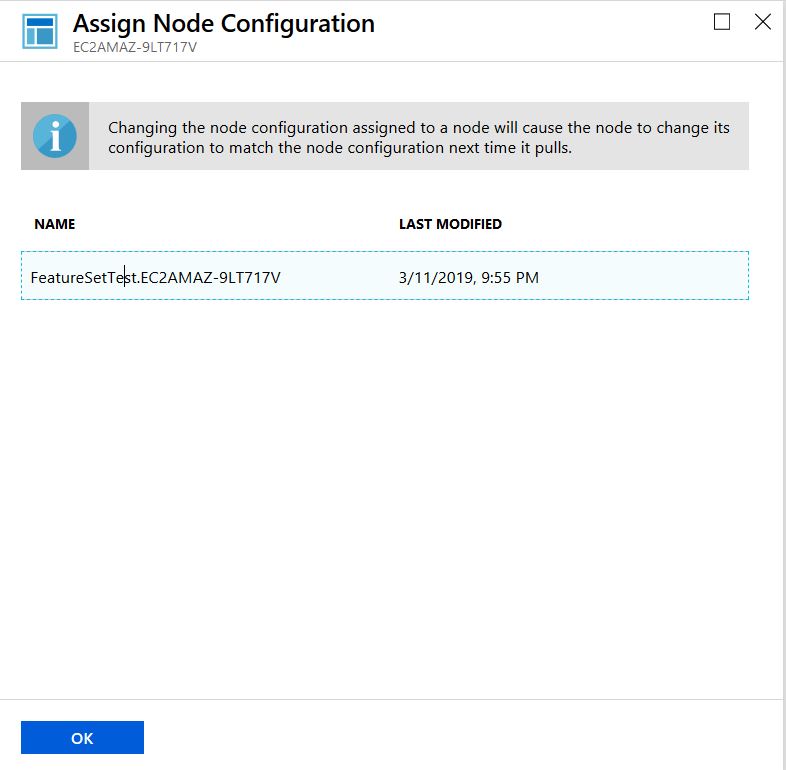
The following figure shows that the configuration file has been assigned to the DSC node.
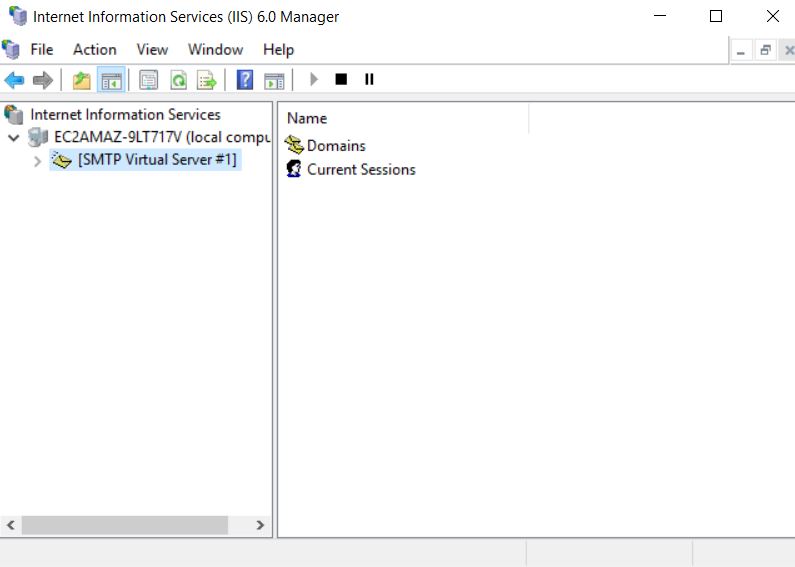
Here I remoted into the AWS VM and verified that IIS has been installed.
Powershell commands to manage State configuration (DSC)
The following Powershell script and commands can be used to complete some of the above tasks that were done in the Portal.
Script to upload config file and compile it:
Import-AzureRmAutomationDscConfiguration
-ResourceGroupName myautogroup –AutomationAccountName myautoacct1
-SourcePath $env:userprofile\Desktop\AzureAutomationDsc\WindowsFeaturSet.ps1
-Published –Force

$jobData = Start-AzureRmAutomationDscCompilationJob
-ResourceGroupName myautogroup –AutomationAccountName myautoacct1
-ConfigurationName Featureset

$compilationJobId = $jobData.Id

Get-AzureRmAutomationDscCompilationJob
-ResourceGroupName myautogroup –AutomationAccountName myautoacct1
-Id $compilationJobId
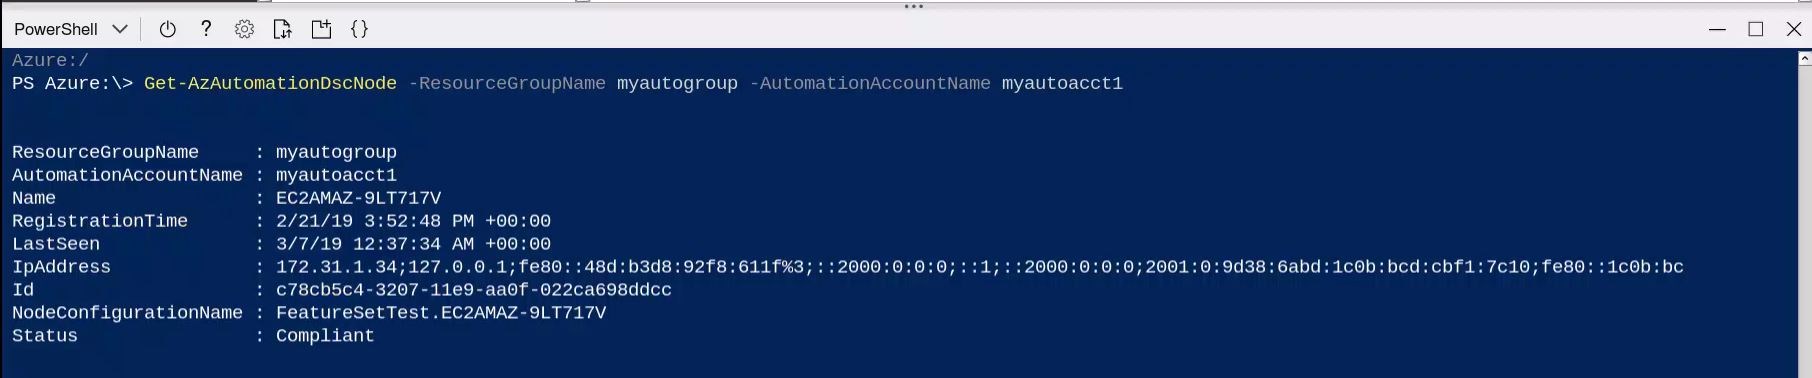
Command to view DSC Nodes
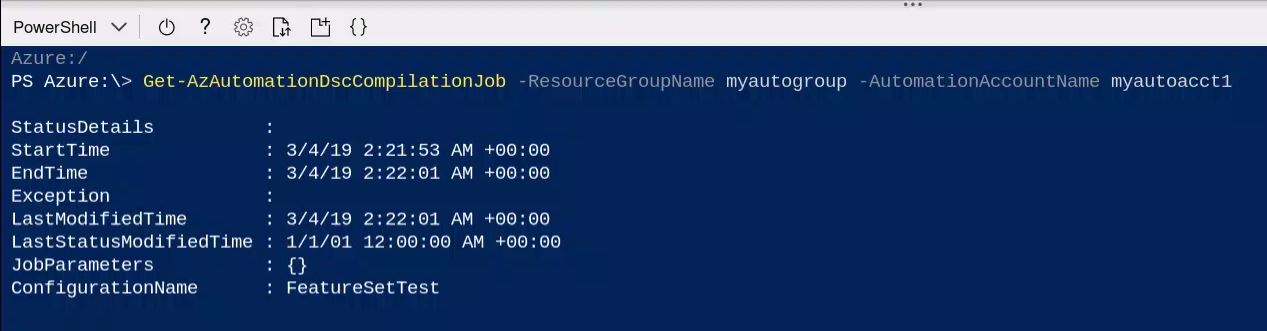
Command to view the status of a DSC compilation job
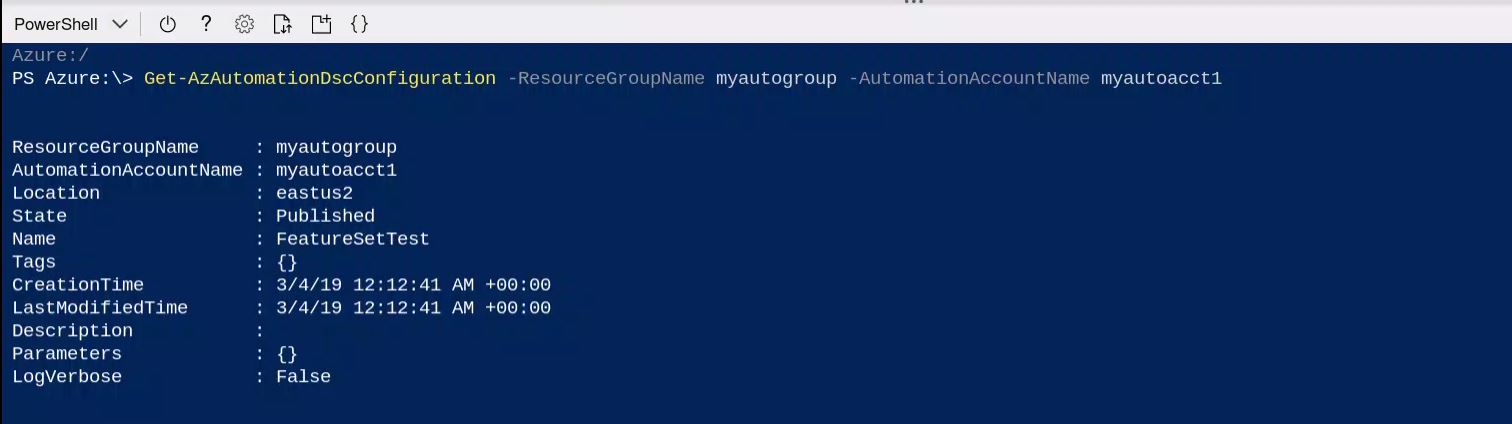
Command to view the a DSC configuration
Troubleshooting – Notes from the Field
During the process of onboarding the AWS VM to Azure, I ran into a couple of errors when running the Set-DscLocalConfigurationManager command.
Problem 1 – Here’s a screenshot of the first error:

Fix 1 – I had to log into the AWS console and re-configure the Security group that manages traffic to the virtual machine. The inbound traffic rule needed an allowance for WinRm-HTTPS (Powershell remoting) on Port 5986.
Problem 2 – when I ran the Set-DscLocalConfigurationManager command again after allowing Powershell remoting in the EC2 Security group, I got this error:

Fix 2 – I had to open the Local Group Policy editor on the AWS VM, enable trusted hosts for the WinRM client and add the source as a Trusted host. Open gpedit.msc and go to Computer Configuration > Administrative Templates > Windows Components > Windows Remote Management (WinRM) > WinRM Client. From there, enable Trusted Hosts and add the source server.
Summary
This concludes the third article in the series on Configuration management of a non-Azure VM. Azure State configuration is a service that can be used to manage Azure, On-premises and other non-Azure VMs to configure and maintain a desired state.
