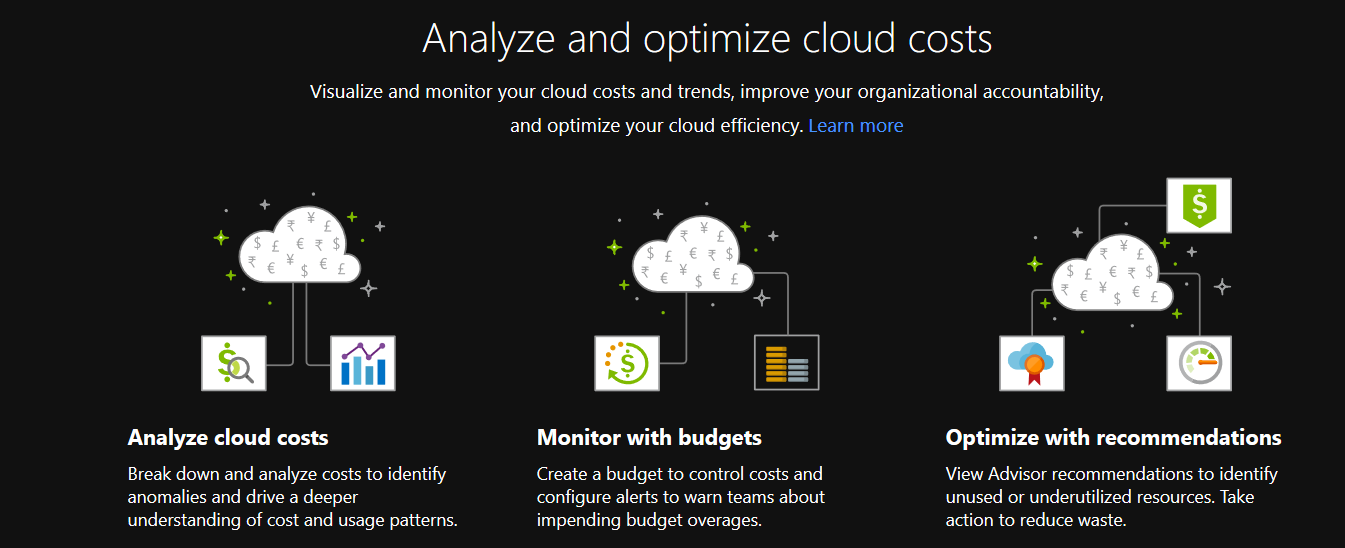
Are you Cloud computing on a budget? This article explains how to manage your costs by configuring a budget for your Azure subscription and receive alerts for when you are nearing the budget limit. This a great feature to leverage to avoid any costly surprises for your dev/test or pay-as-you-go account. Let’s face it, there are many cool features to explore in Azure and it’s very easy to deploy a resource or service and forget about it. I’ve done that and quite possibly, so have you.
Here are the quick steps to setup a budget and associated alerts to avoid any financial pain.
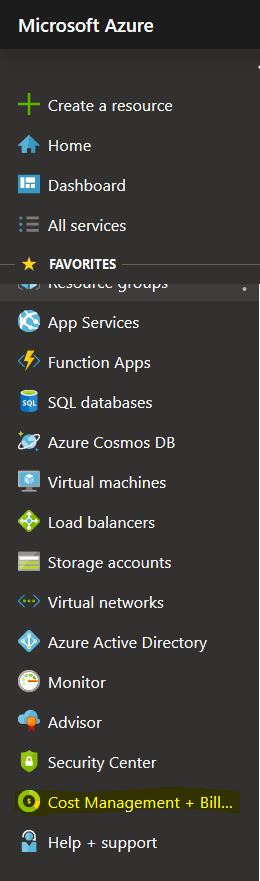
In the Azure Portal go to the Cost Management + Billing menu blade.
Next select “Cost Management”
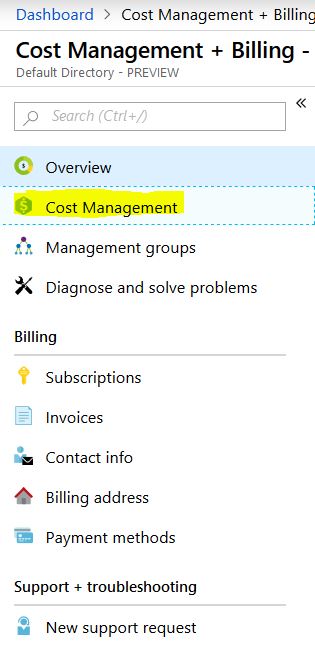
Then go to “Budgets” under Cost Management.

To create your budget, click on the “Add” button, which will bring up the following screen.
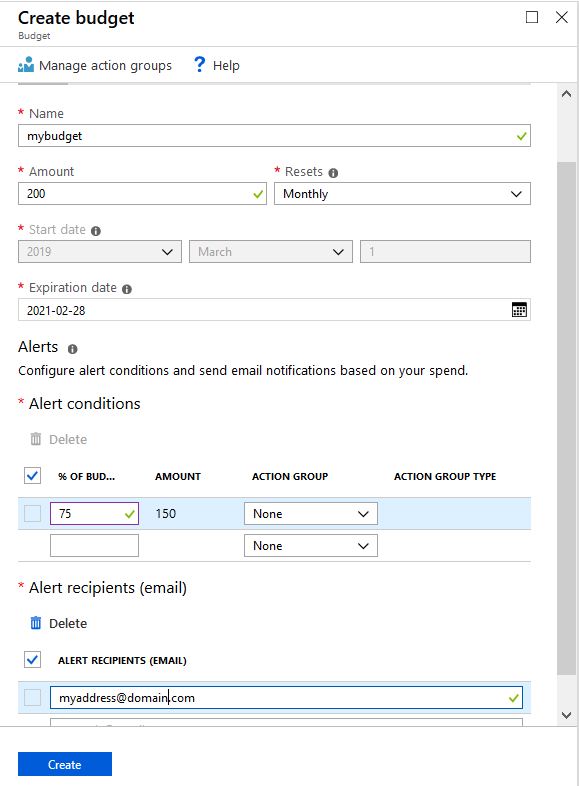
Compete the following fields and click Create:
- Name – give your budget a name
- Amount – the budget spending limit (e.g., $200)
- Resets – the budget time frame (monthly, quarterly or annually)
- Expiration date – when the budget ends
- % of Budget – the budget limit percentage that will trigger an alert (e.g., 75% of limit amount)
- Alert Recipients (email) – where to send a budget alert
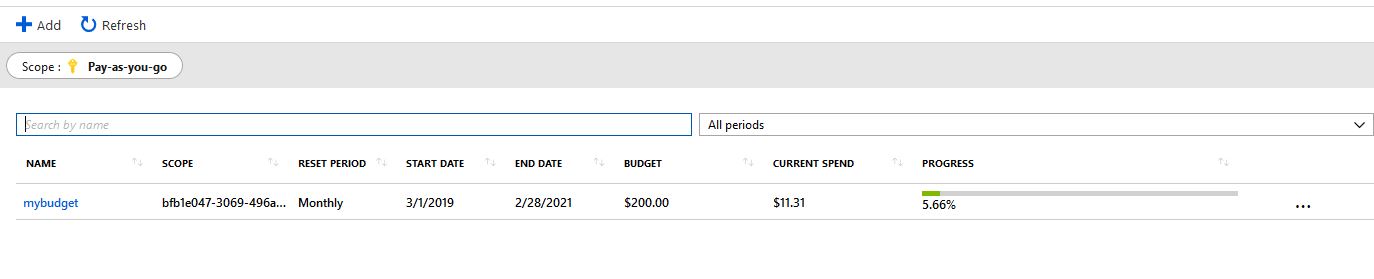
Once your Budget has been created, you can view it under “Budgets”
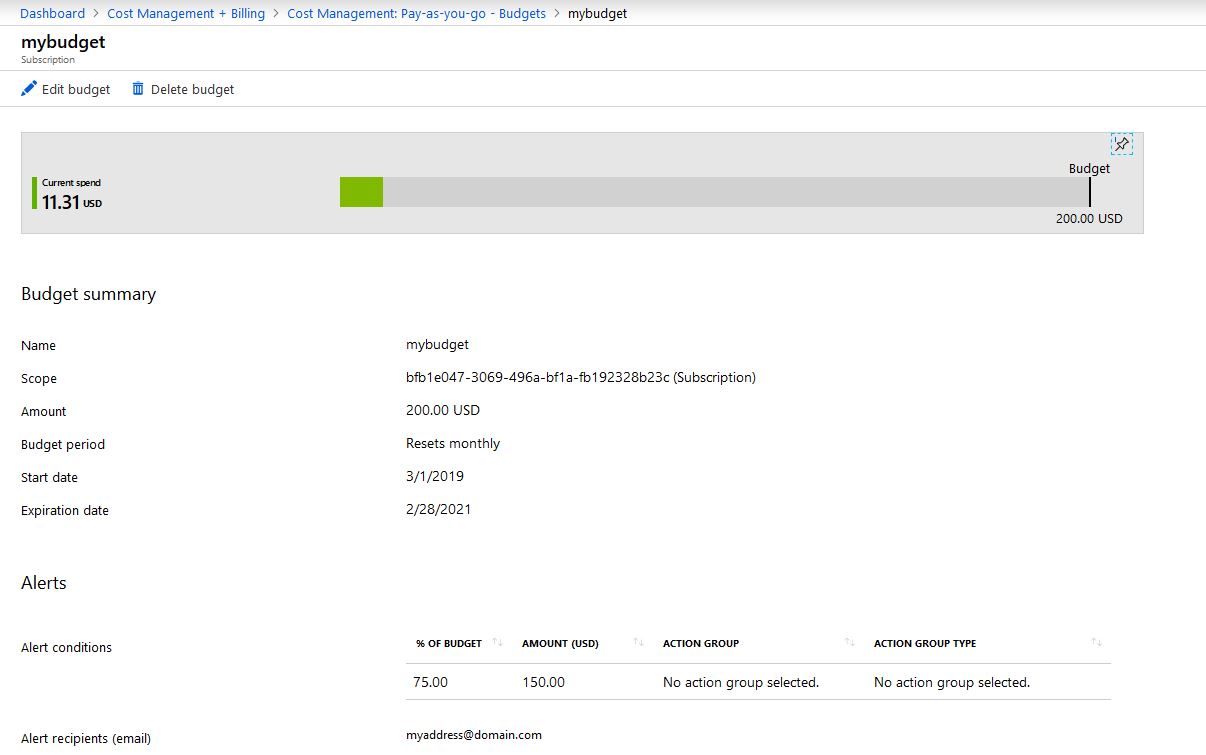
Finally, you can click on it to a view a summary of your Budget
In conclusion, it’s very easy to setup a budget for your Azure subscription as way to manage costs and receive alerts when your are close to exceeding your spending limit. Budgeting is not the most glorious task but it’s necessary to avoid spending more than you can handle.
